Transforming a room with a fresh coat of paint is one of the most impactful DIY projects you can undertake. However, achieving that truly flawless, professional-looking finish often feels intimidating. You want crisp lines, even coverage, and no unsightly drips or streaks. Good news! With the right approach and a few essential painting walls tips, you can absolutely achieve stunning results yourself.
Whether you’re repainting a bedroom or giving your entire living space a refresh, this guide will walk you through the five crucial steps to ensure your home paint job looks fantastic every time. Get ready to learn how to paint a room like a pro!
Tip 1: Prepare Your Space
Preparation is often underestimated, but it’s the secret sauce to a smooth painting process and a superior finish. Don’t skip these crucial steps!
Clear the Room
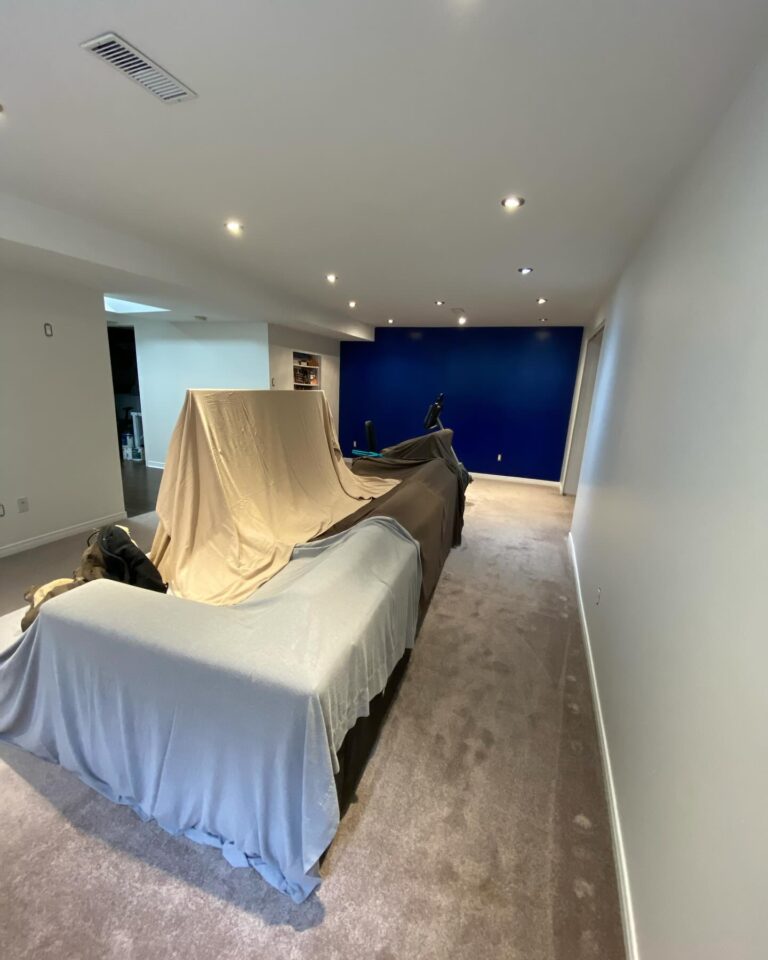
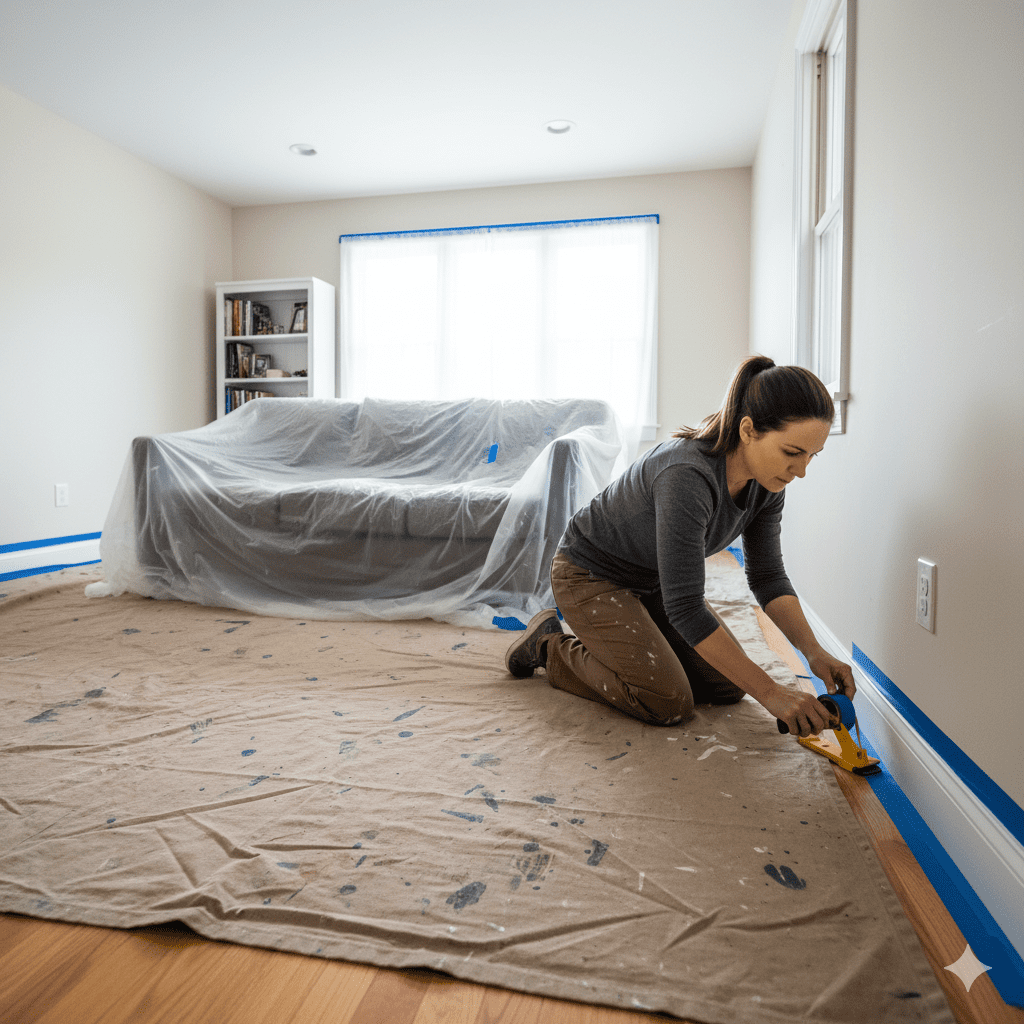
Start by removing everything you can. This includes all furniture, wall hangings, curtains, and even outlet and light switch covers. If large furniture can’t be moved out, gather it in the center of the room, away from the walls. This creates a clear workspace and prevents accidental paint splatters.
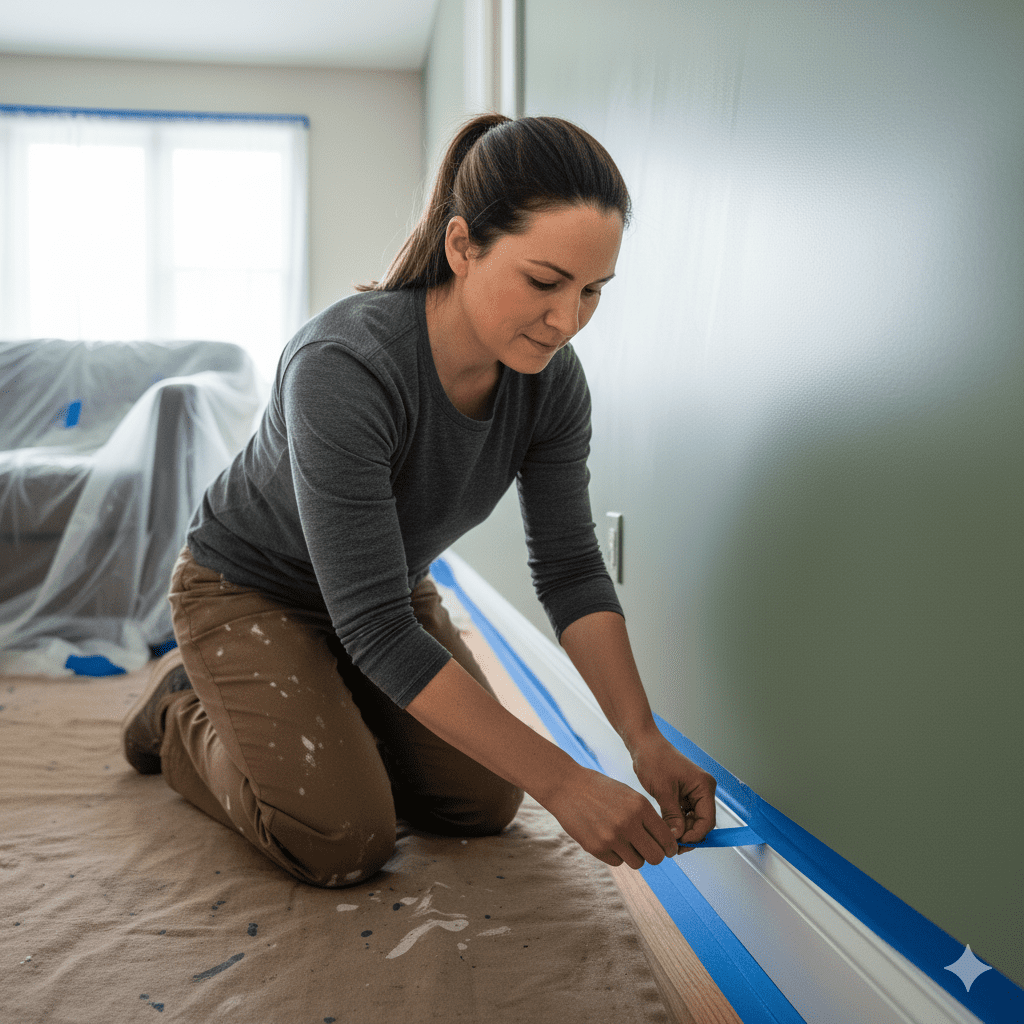
Protect Furniture and Flooring
Once the room is clear, it’s time to protect what’s left. Lay down drop cloths (canvas is preferred over plastic for durability and slip resistance) to cover the entire floor. Use painter’s plastic to drape over any remaining furniture. Don’t forget to use high-quality painter’s tape along baseboards, window frames, door frames, and any other areas you don’t want painted. Press the tape down firmly to prevent bleed-through.
Tip 2: Choose the Right Paint
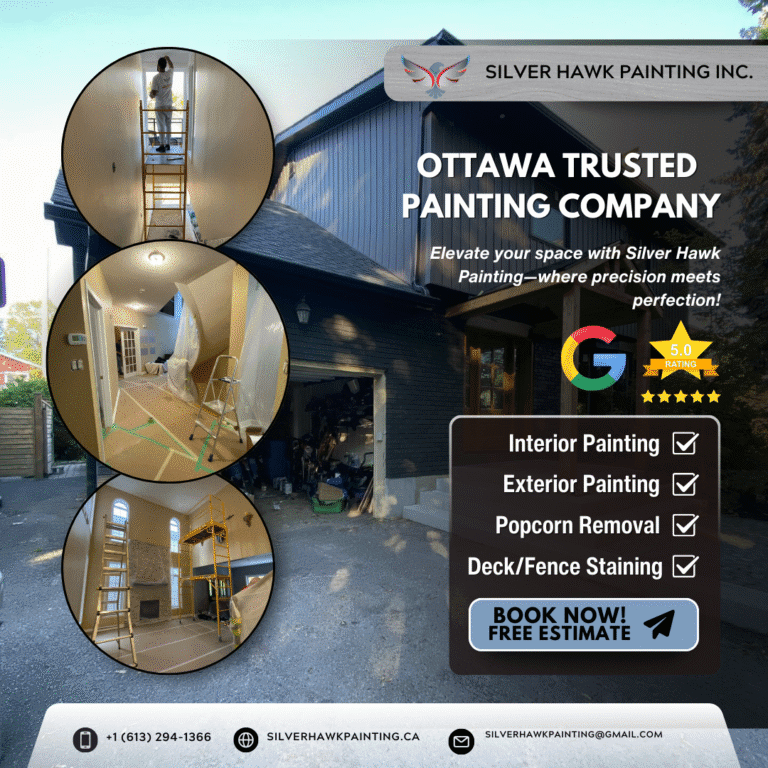
The quality and type of paint you select will significantly impact the final look and longevity of your walls. This step is more than just picking a pretty colour! If you’re overwhelmed by choices, experienced Ottawa painters can offer valuable advice on product lines and finishes suited for the local climate.
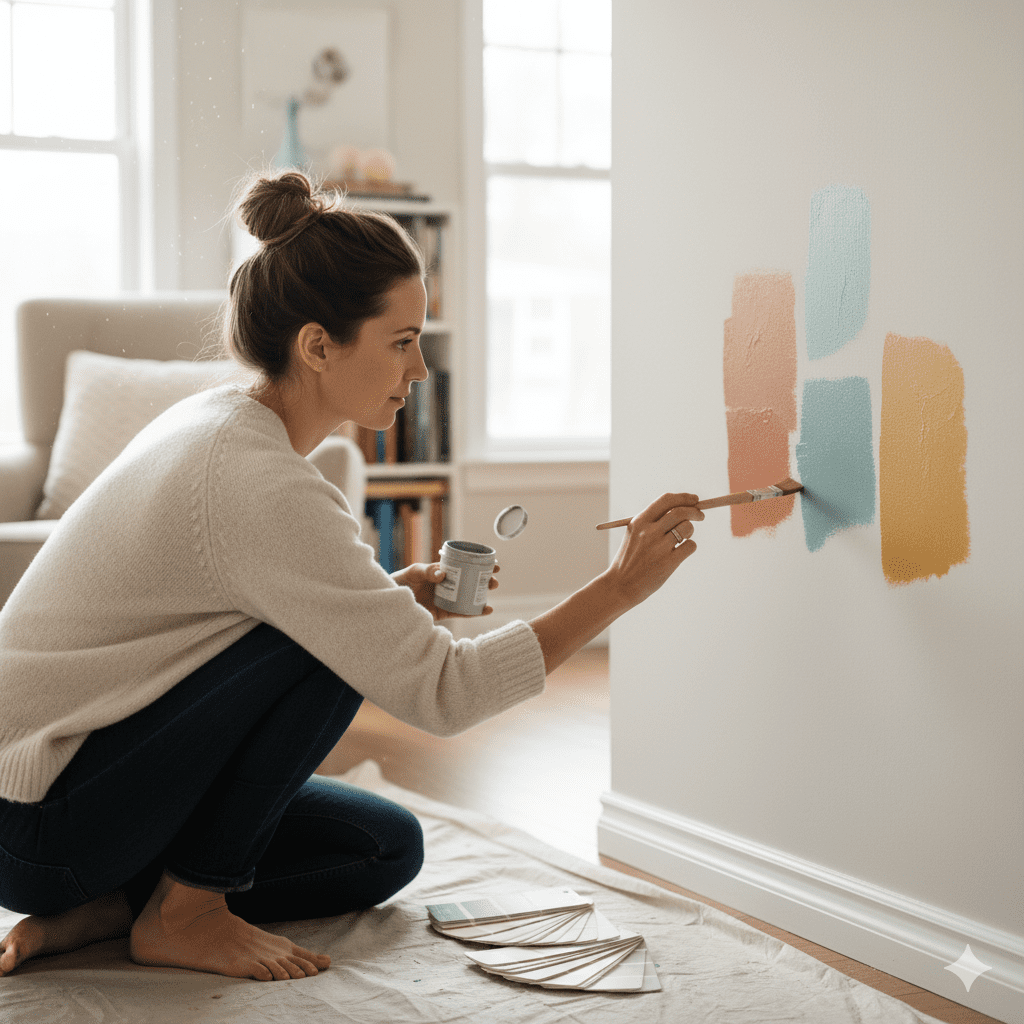
How to Choose Paint Colors
This is often the most exciting part! Consider the room’s natural light, existing decor, and the mood you want to create. Grab paint swatches and observe them at different times of day. Better yet, buy small sample pots and paint larger swatches directly on your wall to see how the colour truly appears in your space. This is a vital step for any painting inside your home project.
Understand Paint Types and Finishes
- Latex/Acrylic Paint: Most common for interior walls, easy cleanup with water, quick-drying.
- Oil-Based Paint: Durable, good for trim and high-traffic areas, requires mineral spirits for cleanup.
- Finishes:
- Flat/Matte: Hides imperfections well, low sheen, best for low-traffic areas like formal dining rooms.
- Eggshell/Satin: A slight sheen, more durable and washable than flat, ideal for living rooms and bedrooms (great for repainting a bedroom!).
- Semi-Gloss: More durable, higher sheen, excellent for kitchens, bathrooms, and trim where washability is key.
Tip 3: Proper Preparation of Walls
Now that your space is protected and your paint is chosen, it’s time to get the walls ready. This is how to properly paint a wall for lasting results.
Cleaning the Walls
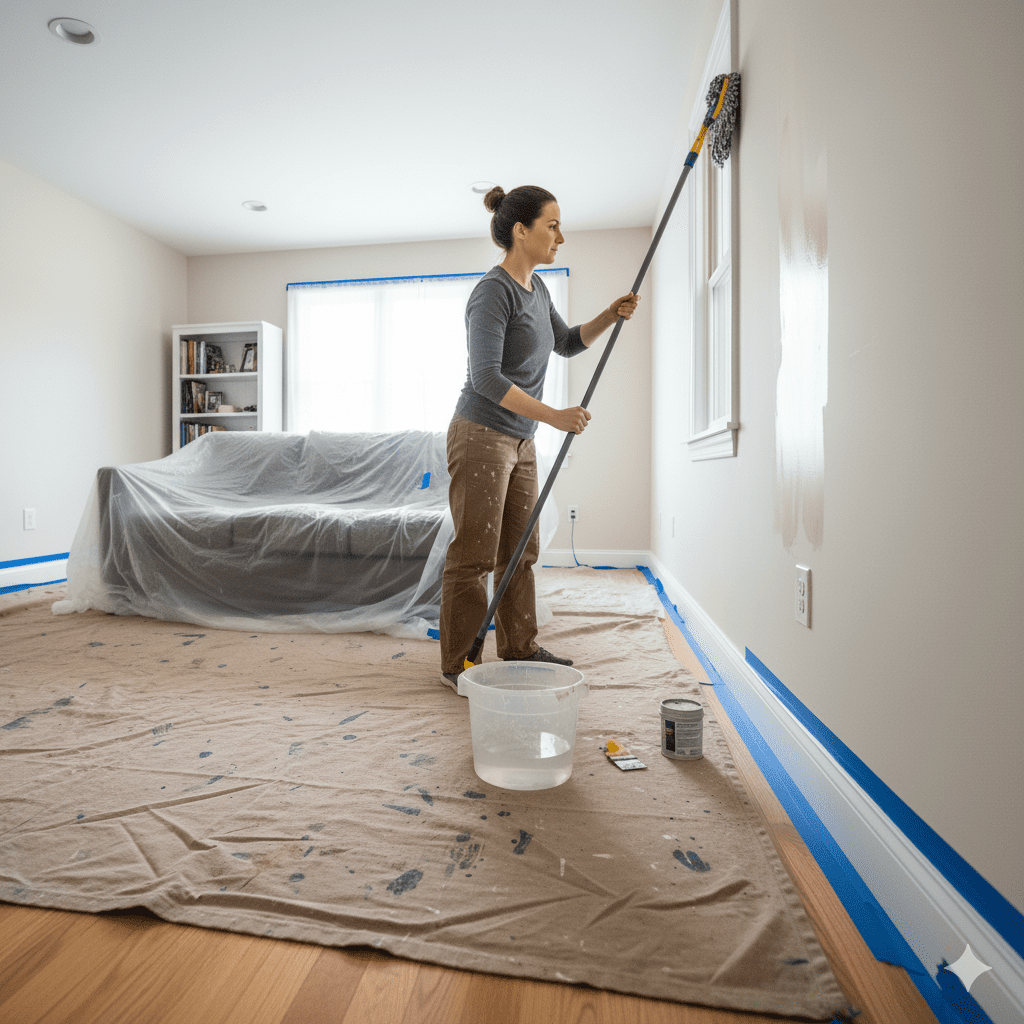
Dust, dirt, and grime can prevent paint from adhering properly. Use a damp cloth with a mild all-purpose cleaner (or a specialized wall cleaner) to wipe down all surfaces. For kitchens or bathrooms, a degreaser might be necessary. Rinse with clean water and allow the walls to dry completely.
Repairing Imperfections
Inspect your walls for any nail holes, cracks, or dents. Fill these with spackle or joint compound, smoothing it with a putty knife. Once dry, lightly sand the patched areas until they are flush with the wall surface. Wipe away any dust with a tack cloth.
Priming the Surface
Priming is essential if:
- You’re painting new drywall.
- You’re covering a very dark colour with a lighter one.
- The surface is stained (water, smoke, etc.).
- You’ve made significant repairs with spackle. Primer creates a uniform surface for the paint to adhere to, ensuring better coverage and a more consistent finish.
Tip 4: Mastering Painting Techniques
Now for the main event! These wall painting methods and painting techniques for walls will help you achieve a smooth, even coat.
Wall Painting Methods: Cutting In
“Cutting in” refers to using a brush to paint around edges, corners, and trim where a roller can’t reach.
- Use a high-quality angled paintbrush.
- Dip about an inch of the brush into the paint, tapping off excess.
- Apply paint in a straight, steady line along the taped edges, allowing the bristles to flex slightly.
- Work in sections, cutting in an area before rolling the main wall surface.
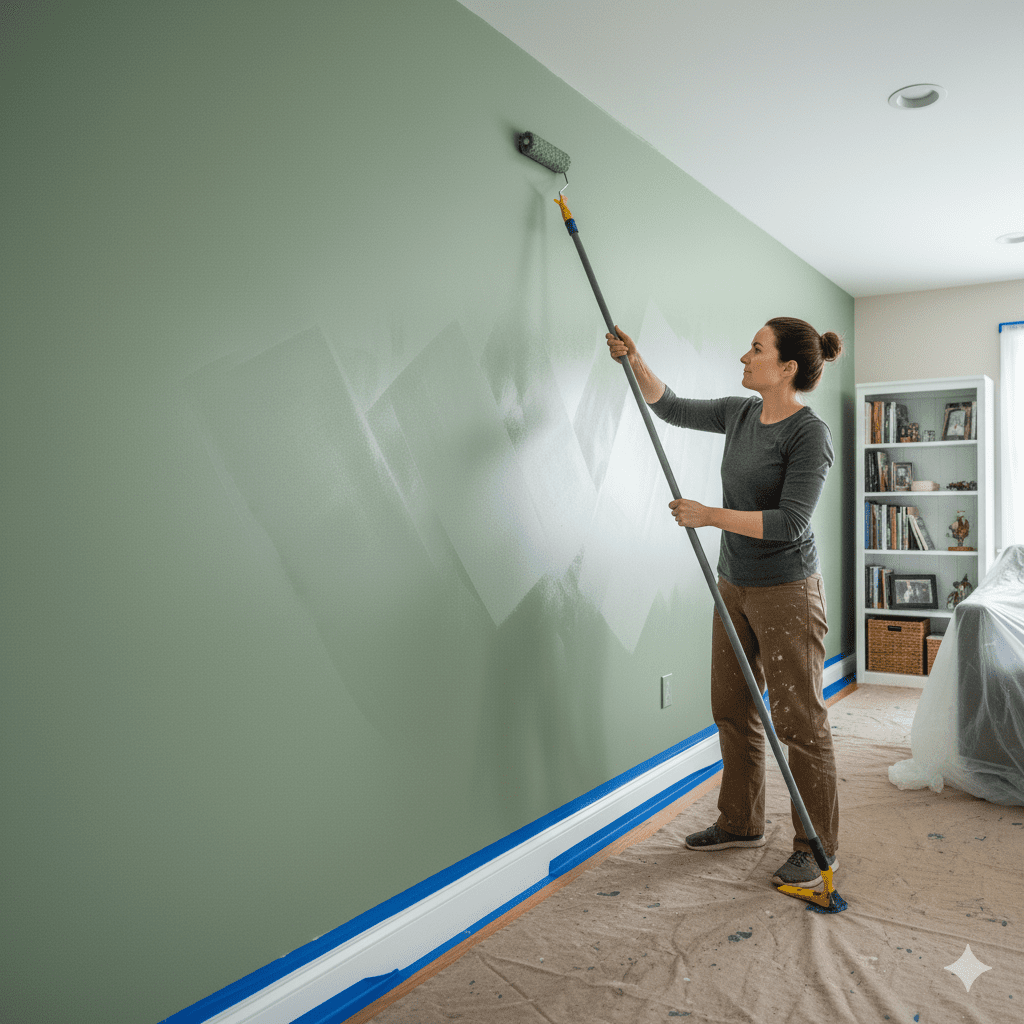
Best Tips for Painting Walls: Rolling
- Load the Roller: Don’t overload! Roll the roller gently back and forth in the paint tray until it’s evenly coated but not dripping.
- Maintain a Wet Edge: This is crucial to avoid lap marks. Work in vertical sections, painting from top to bottom. As you move to a new section, overlap the previous wet edge by a few inches.
- Use a “W” or “M” Pattern: For large wall surfaces, apply paint in a “W” or “M” shape, then fill in the gaps without lifting the roller. This ensures even distribution.
- Apply Multiple Thin Coats: Two thin coats are always better than one thick coat. Allow ample drying time between coats as per the paint manufacturer’s instructions. A professional painter painting wall surfaces always prioritizes multiple thin coats.
Step-by-Step Painting a Room:
- Ceiling first (if applicable): If painting the ceiling, do this before walls.
- Cut in: Use your brush to paint along edges, corners, and trim.
- Roll main walls: Using your roller, apply paint in sections, maintaining a wet edge.
- Second Coat: After adequate drying time, apply a second coat following the same cutting in and rolling steps.
Tip 5: Finishing Touches and Clean-Up
You’re almost there! These final steps ensure your hard work results in a pristine finish and easy maintenance.
Removing Painter’s Tape
This is one of the most crucial painting advice tips for sharp lines: remove painter’s tape while the paint is still slightly tacky. If you wait until it’s completely dry, the paint can peel off with the tape, ruining your crisp edge. Pull the tape at a 45-degree angle slowly.
How to Repaint a Room Like a Pro: Touch-Ups
Once the tape is removed, take a moment to inspect your work. Small imperfections can often be gently scraped away with a utility knife or touched up carefully with a small brush. If the thought of all these steps is overwhelming, or you’re looking for a guaranteed perfect finish, consulting professional Ottawa painters is the next best step.
Final Clean-Up Steps
- Clean Brushes and Rollers: For latex paint, immediately wash brushes and roller covers with warm, soapy water until clean. For oil-based paint, use mineral spirits. Proper cleaning means your tools will be ready for your next DIY painting project!
- Store Leftover Paint: Seal paint cans tightly. If there’s only a small amount left, consider transferring it to a smaller, airtight container to prevent drying. Label the can with the paint colour, finish, and the room it was used in.
- Dispose of Waste: Consult your local municipal guidelines in Canada for proper disposal of paint-soaked drop cloths, used tape, and any hazardous waste.
Conclusion
There you have it – five essential painting walls tips that will transform your approach to interior painting. From meticulous preparation to mastering application techniques and handling the finishing touches, each of the steps to painting a room contributes to a truly flawless result. With these painting tips for beginners walls and seasoned DIYers alike, you’re ready to tackle your next project with confidence.
If you decide that hiring a reliable team of Ottawa painters is the right move for you, visit Silver Hawk Painting Inc. for a consultation. Otherwise, grab your brushes and rollers, and enjoy the satisfaction of a beautifully painted room!